The previous article (broken link) covered the use of a Dockerfile to create a docker image that shows a static page through apache.
This article will use the django framework to show how the Django admin works from Docker (previous Django articles).
Here are the previous articles:
- Install Docker on Debian Jessie (broken link)
- Using Docker on Debian Jessie (part 1)
- Using Docker on Debian Jessie (part 2)
- Create a Docker image with a Dockerfile (broken link)
In this case a Django project and application have been created with the following directories and files, and an administrator account has been created (article on creating the project and application):
djangoapp
├── db.sqlite3
├── djangoapp
│   ├── __init__.py
│   ├── __init__.pyc
│   ├── settings.py
│   ├── settings.pyc
│   ├── urls.py
│   ├── urls.pyc
│   ├── wsgi.py
│   └── wsgi.pyc
└── manage.py
The Dockerfile contains the following:
FROM debian
MAINTAINER Ernesto Crespo <ecrespo@gmail.com>
RUN apt-get update
RUN apt-get install -y python-pip
RUN apt-get clean
RUN pip install virtualenv
RUN pip install django
RUN echo "America/Venezuela/Caracas" > /etc/timezone && dpkg-reconfigure -f noninteractive tzdata

# El puerto 8000 se publica en el contenedor
EXPOSE 8000

# Copiar aplicacion del subdirectorio djangoapp/ al directorio
# /djangoapp en el contenedor
ADD djangoapp /srv/djangoapp
COPY djangoapp /srv/djangoapp
RUN chown -R www-data:www-data /srv/djangoapp
RUN chmod a+x /srv/djangoapp/manage.py
# Establecer el directorio de trabajo
WORKDIR /srv/djangoapp

# Se lanza el servidor web del proyecto django
CMD python manage.py runserver 0.0.0.0:8000- FROM debian: The latest version of Debian is used as the base.
- MAINTAINER: The name of the container maintainer is defined.
- RUN: The series of commands is run to install the necessary packages, change the container's time zone, and change the permissions and owner of the folder where the django project will be.
- EXPOSE 8000: Port 8000 is published.
- ADD djangoapp /srv/djangoapp : The Django project is copied.
- COPY djangoapp /srv/djangoapp: The Django project is copied.
- WORKDIR /srv/djangoapp: The working directory is defined.
- CMD python manage.py runserver 0.0.0.0:8000: The web server of the Django project is run on port 8000.
After saving the file, build the image:
docker build -t myapp .When the image has been created, you have:
$ docker images
REPOSITORY                  TAG                 IMAGE ID            CREATED             VIRTUAL SIZE
myapp                       latest              948e276ee3d9        31 minutes ago      388.5 MB
ecrespo/empaquetadodebian   latest              ee5883957d64        3 weeks ago         656.9 MB
sameersbn/gitlab            latest              5a4b34c1445c        5 weeks ago         675.8 MB
busybox                     latest              fc0db02f3072        5 weeks ago         1.113 MB
debian                      latest              8b9a99209d5c        6 weeks ago         125.1 MB
sonarqube                   latest              dd47274097f7        10 weeks ago        942.5 MB
hello-world                 latest              975b84d108f1        3 months ago        960 B
docker/whalesay             latest              fb434121fc77        7 months ago        247 MB
sonarqube                   5.1                 37c5c2e971dc        8 months ago        589 MB
To run the myapp docker instance
docker run -p 8000:8000 myappPort 8000 of the machine is mapped to port 8000 of the myapp docker.
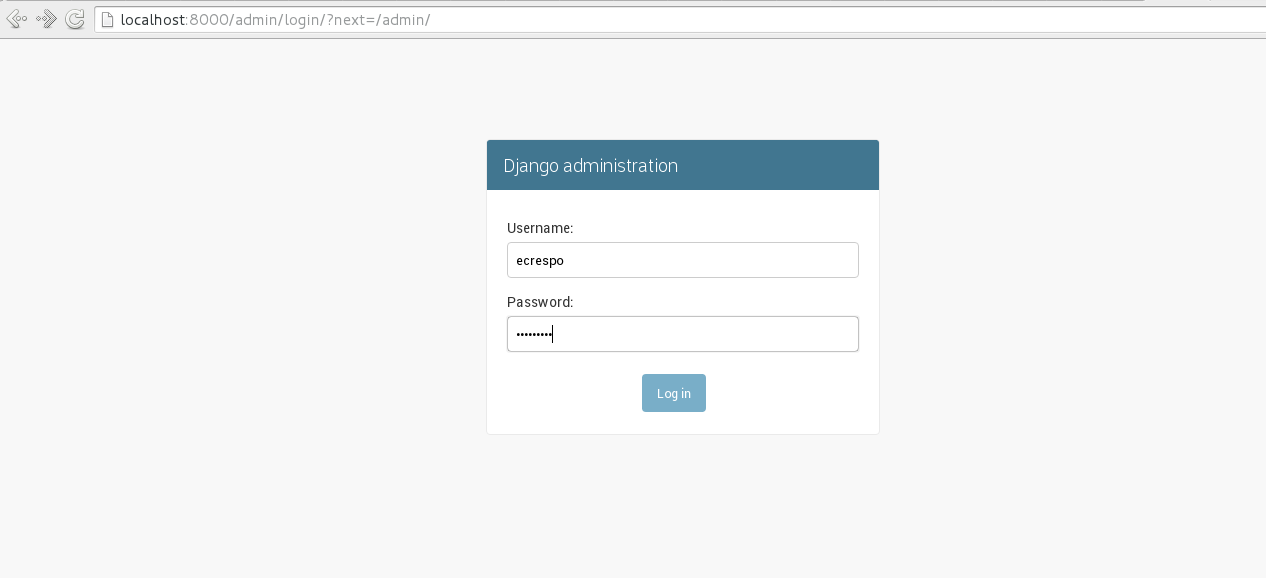
The following figure shows the Django admin login:
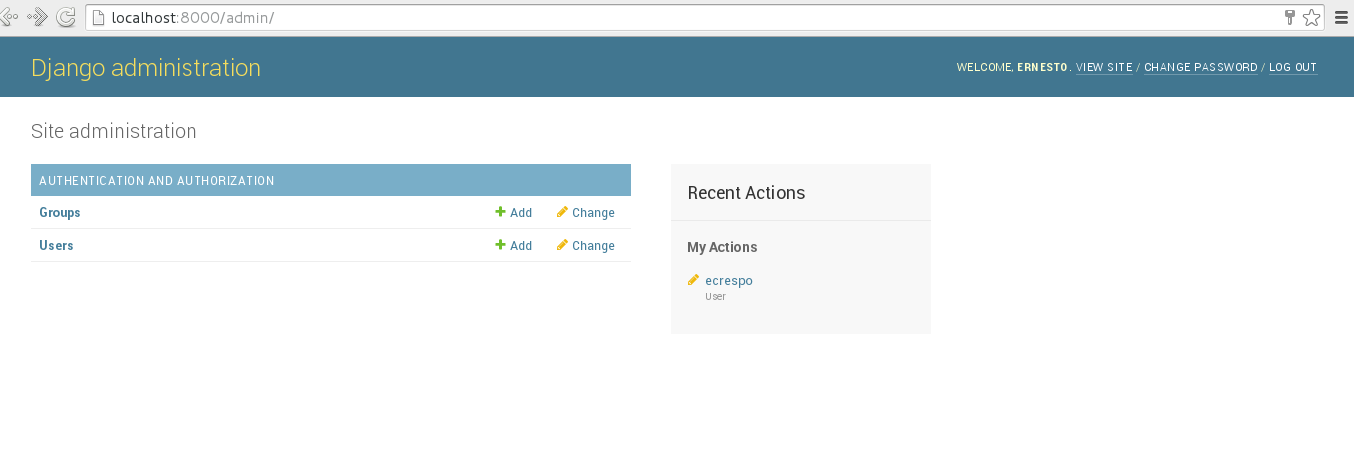
The following figure shows the Django administration:
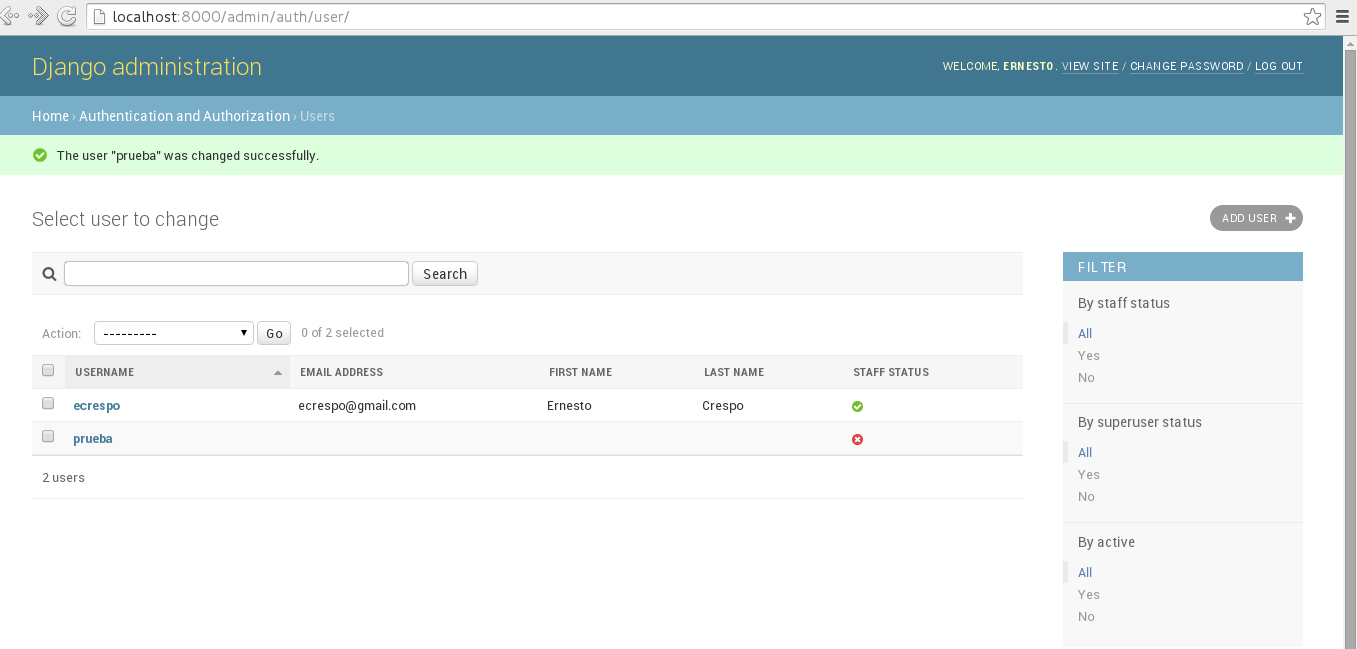
A user is added to the Django admin:
The docker processes are:

You can stop the docker instance whose container has the id 5fedc4d0615b.
$ docker stop 5fedc4d0615b
5fedc4d0615b
Or start the instance
$ docker start 5fedc4d0615b
5fedc4d0615b
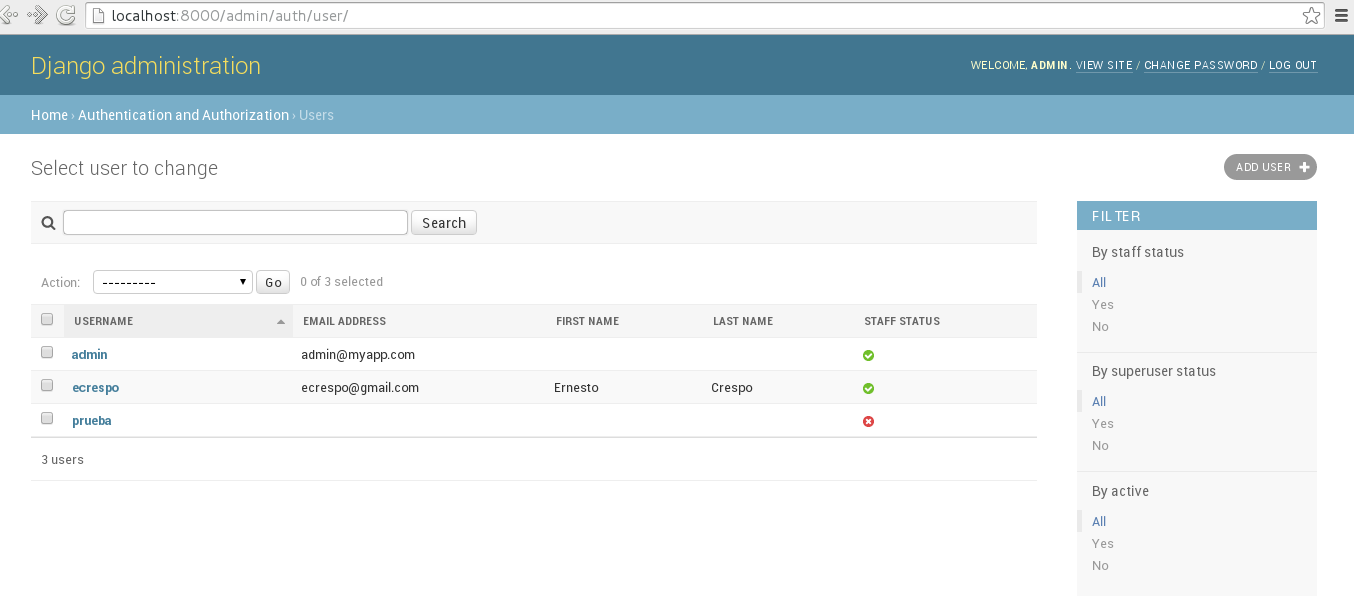
Create another admin user: To do this, in docker you can run an interactive console with the following command:
$ docker exec -it determined_brattain /bin/bash
root@5fedc4d0615b:/srv/djangoapp#


root@5fedc4d0615b:/srv/djangoapp# python manage.py createsuperuser --username=admin --email=admin@myapp.com
Password:
Password (again):
Superuser created successfully.
Exit the console and try logging in with the admin user.
You can now start customizing an application in the instance of the docker image that has been created.
Make a donation! If you liked the article you can make a donation with Bitcoin (BTC) using the digital wallet of your choice to the following address: 17MtNybhdkA9GV3UNS6BTwPcuhjXoPrSzV
Or by scanning the QR code from the wallet: