The previous article shows the PyAutoGUI library, taking a screenshot, capturing the mouse position and making movements with it.
This article shows how to perform mouse clicks and drag.
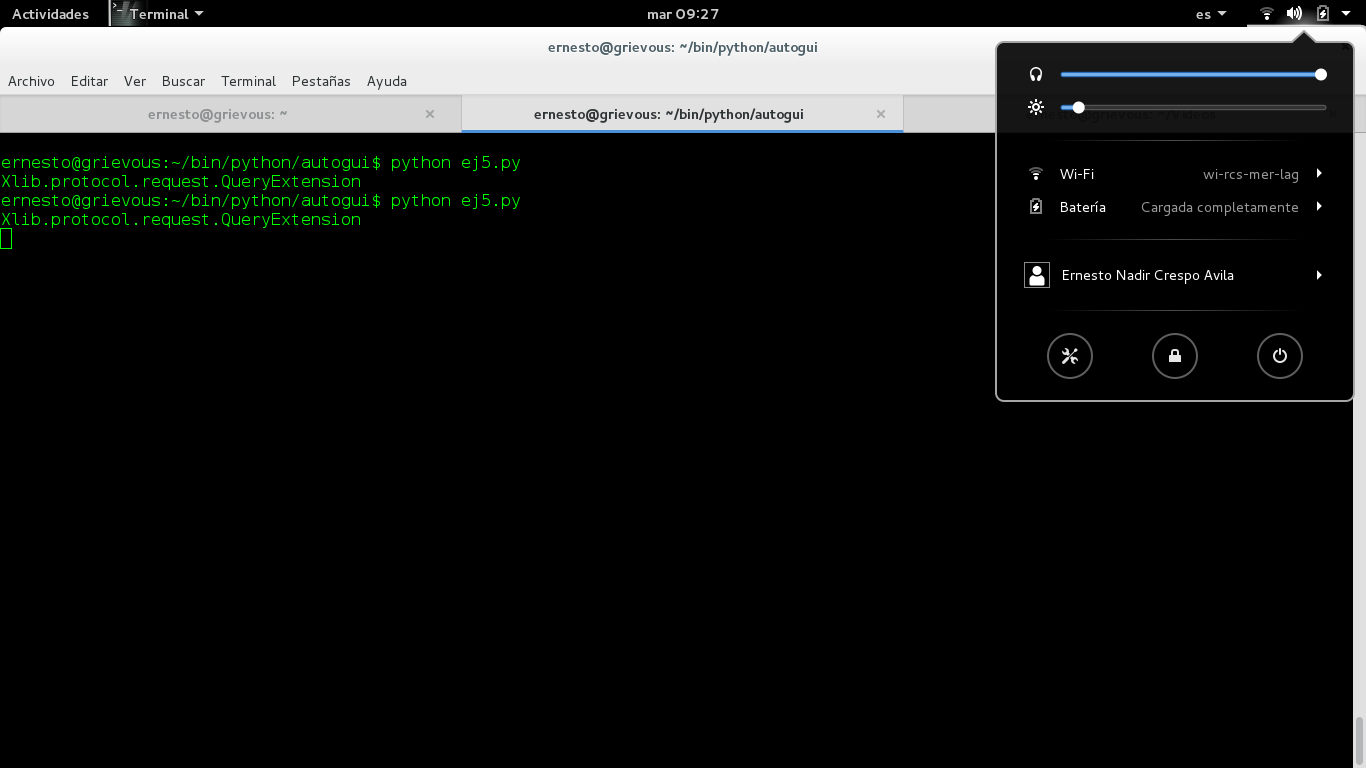
In this first example the idea is to click the top menu in Gnome where the volume, brightness and access to settings are shown.
The code is shown below.
 #!/usr/bin/env python

#Importar el modulo

import pyautogui


#Se hace click en la posicion del menu del sistema del escritorio gnome.

pyautogui.click(2712,13)


#Se realiza la captura de pantalla

im1 = pyautogui.screenshot()


#Se salva en un archivo

im1.save('prueba2.png')
The following figure shows the script running:
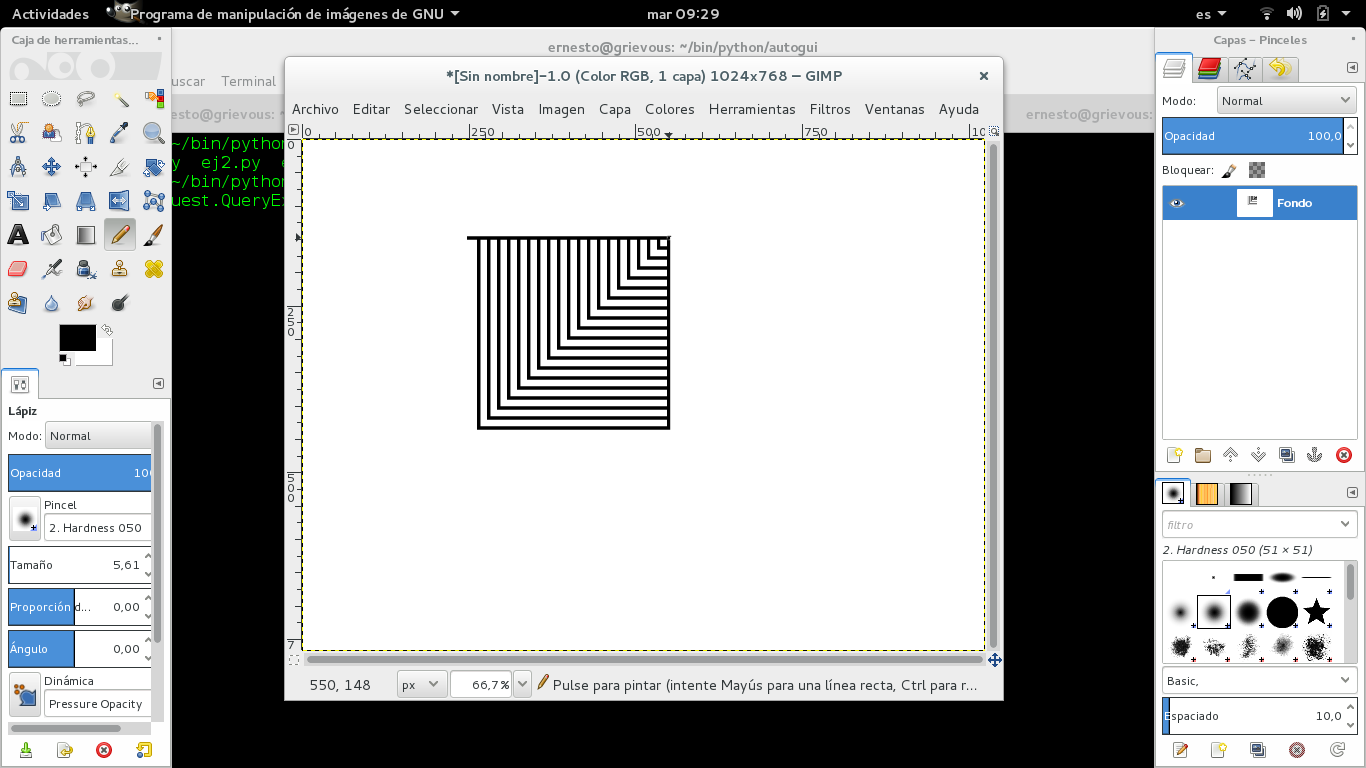
The following script will draw in Gimp using drag and, at the end, take a screenshot of the drawing:
#!/usr/bin/env python3

import pyautogui, time


time.sleep(5)

pyautogui.click()

# click to put drawing program in focus


distancia = 200

while distancia > 0:

 pyautogui.dragRel(distancia, 0, duration=0.2)

 # se mueve a la derecha

 distancia = distancia - 10

 #se mueve hacia abajo

 pyautogui.dragRel(0, distancia, duration=0.2)

 # se mueve hacia la izquierda

 pyautogui.dragRel(-distancia, 0, duration=0.2)

 distance = distancia - 10

 #Se mueve hacia arriba

 pyautogui.dragRel(0, -distancia, duration=0.2)


#Al terminar el dibujo se espera 5 seg para la captura de pantalla.

time.sleep(5)

#Se realiza la captura de pantalla

im1 = pyautogui.screenshot()


#Se salva en un archivo

im1.save('prueba3.png')
The following image shows the result of the script:
And the video of the script in action:
https://youtu.be/PFEDO5HyEK4 (broken link)
Make a donation! If you liked the article you can make a donation in Bitcoin (BTC) using the digital wallet of your choice to the following address: 17MtNybhdkA9GV3UNS6BTwPcuhjXoPrSzV
Or by scanning the QR code from your wallet: