In software development the final step is running functional tests. In the case of graphical desktop or web applications, a technician comes in to enter data, click a button, a whole process done by hand!!!
There are tools that make it easier to automate those tests, one of them is PyAutoGUI.
This library makes it easy to interact with the mouse and keyboard programmatically.
If you have a screen with a 1920x1080 resolution, the coordinate handling within the screen is as the following figure shows:
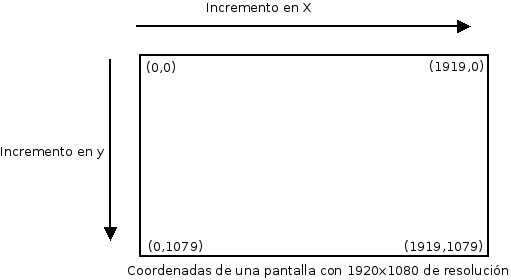
Movement on the screen goes from left to right horizontally with the X value, and from top to bottom vertically with the Y value.
To install the PyAutoGUI library you need python-xlib installed; to install it on Debian and Debian-based distros use apt:
#apt-get install python-xlibThe library is installed through pip:
#pip install PyAutoGUIThe first test will be to show the screen resolution of the machine where I am writing this article:
The code is shown below:
#!/usr/bin/env python3

#Se importa la libreria pyautogui
import pyautogui
#Se muestra en pantalla la resolucion de dicha pantalla
#como una tupla.

print(pyautogui.size())

Al ejecutar el script se tiene:
$python ej1.py
Xlib.protocol.request.QueryExtension
(1366, 768)
So, the screen of the machine where I am writing this article has a resolution of 1366x768.
You can also capture the mouse position:
#!/usr/bin/env python3

#Se importa la libreria pyautogui
import pyautogui

#Captura la posicion del raton
resultado = pyautogui.position()


print(resultado)
The script returns a tuple with the mouse position at a given instant. The script will be run 4 times, once at each corner of the screen, to get the coordinates of the 1366x768 resolution screen:
Top left corner:
ernesto@grievous:~/bin/python/autogui$ python ej2.py
Xlib.protocol.request.QueryExtension
(0, 0)
Top right corner:
ernesto@grievous:~/bin/python/autogui$ python ej2.py
Xlib.protocol.request.QueryExtension
(1366, 0)
Bottom left corner:
ernesto@grievous:~/bin/python/autogui$ python ej2.py
Xlib.protocol.request.QueryExtension
(0, 768)
Bottom right corner
ernesto@grievous:~/bin/python/autogui$ python ej2.py
Xlib.protocol.request.QueryExtension
(1366, 768)
You can also take a screenshot. The script is shown below:
#!/usr/bin/env python

#Se importa el modulo
import pyautogui

#Se realiza la captura de pantalla
im1 = pyautogui.screenshot()

#Se salva en un archivo
im1.save('prueba.png')
And here is the screenshot:
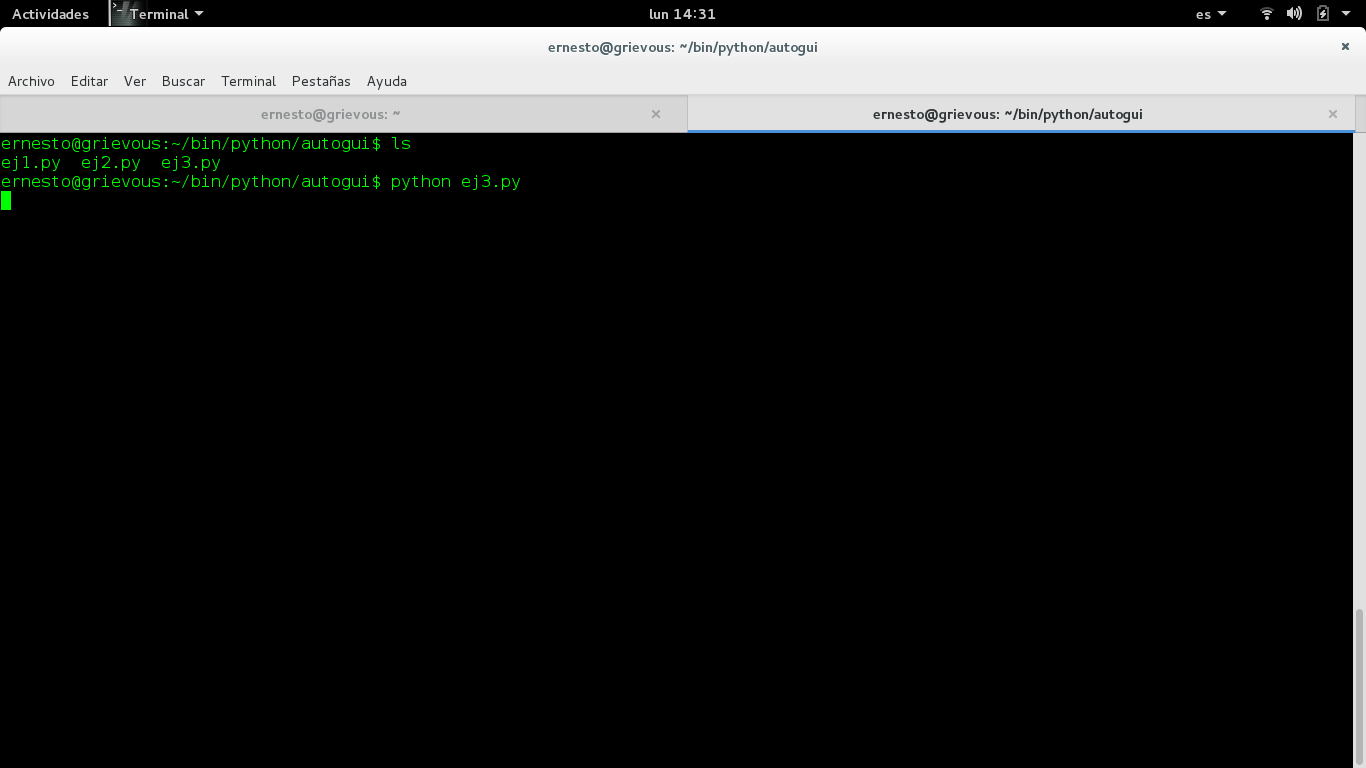
Finally, a script that moves the mouse to a certain position will be shown:
#!/usr/bin/env python


#Importar el modulo
import pyautogui

#Se genera un ciclo de 10 veces
for i in range(20):
        #Se mueve a la coordenada (100,100)
        pyautogui.moveTo(100,100,duration=0.25)
        #Se mueve a la coordenada (200,100)
        pyautogui.moveTo(300,100,duration=0.25)
        #Se mueve a la coordenada (200,200)
        pyautogui.moveTo(300,300,duration=0.25)
        #Se mueve a la coordenada (100;200)
        pyautogui.moveTo(100,300,duration=0.25)
The following video shows the script working:
https://youtu.be/wQ0-epmkZOA (broken link)
Future articles will continue demonstrating the use of the library.
Make a donation! If you liked the article you can make a donation with Bitcoin (BTC) using the digital wallet of your choice to the following address: 17MtNybhdkA9GV3UNS6BTwPcuhjXoPrSzV
Or by scanning the QR code from the wallet: