It had been a long time since I did any experiments in digital design or electronics. At the end of last year I decided to buy an Arduino board and start experimenting. Below I explain a simple example of turning a Light Emitting Diode (LED) on and off.
Arduino is an Open Hardware platform based on a microcontroller and a development environment that makes it easy to develop Electronics projects.
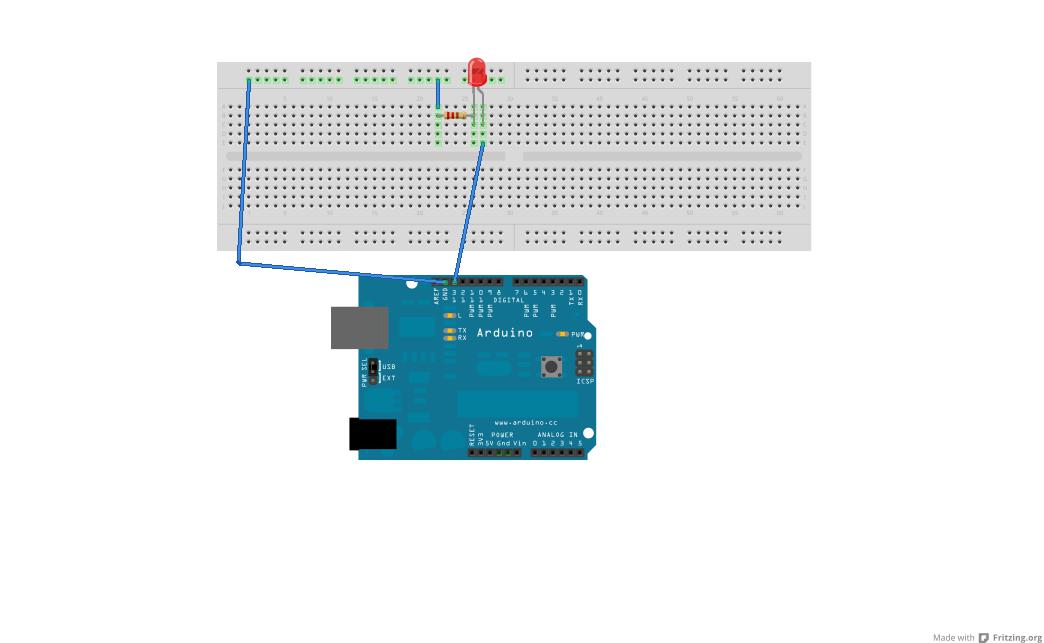
As a first example, an LED will be connected in series with a resistor (270 Ohm) and connected to the Arduino.
The components are:
- 270 Ohm resistor (0.5 W).
- A 5 mm Red LED.
- An Arduino Uno board.
You need to install the fritzing program and the Arduino IDE on Debian:
apt-get install arduino-mk arduino-core arduino fritzing fritzing-dataThe wiring diagram was made with the Fritzing tool. The diagram is shown in the following figure:
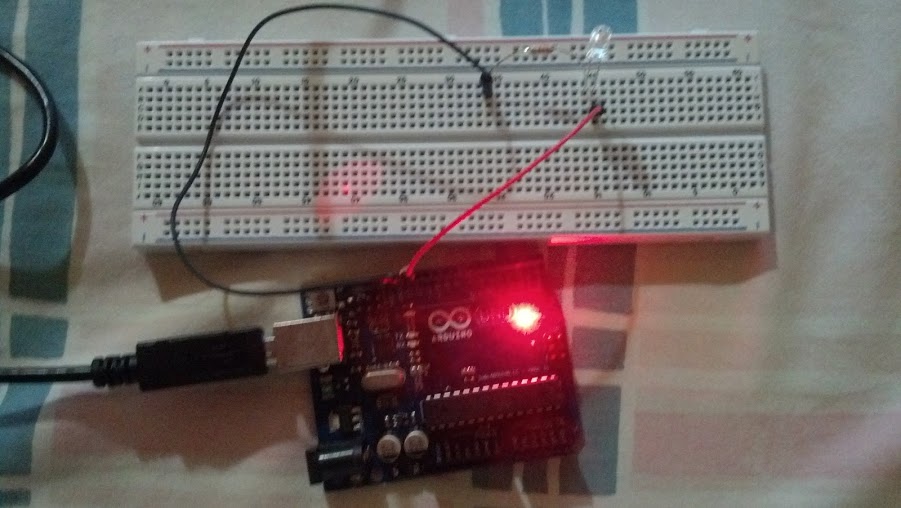
The following figure shows a photo of the wiring:
The program is verified, compiled and uploaded to the Arduino with the Arduino IDE tool. The following figure shows a screenshot of the Arduino IDE tool:
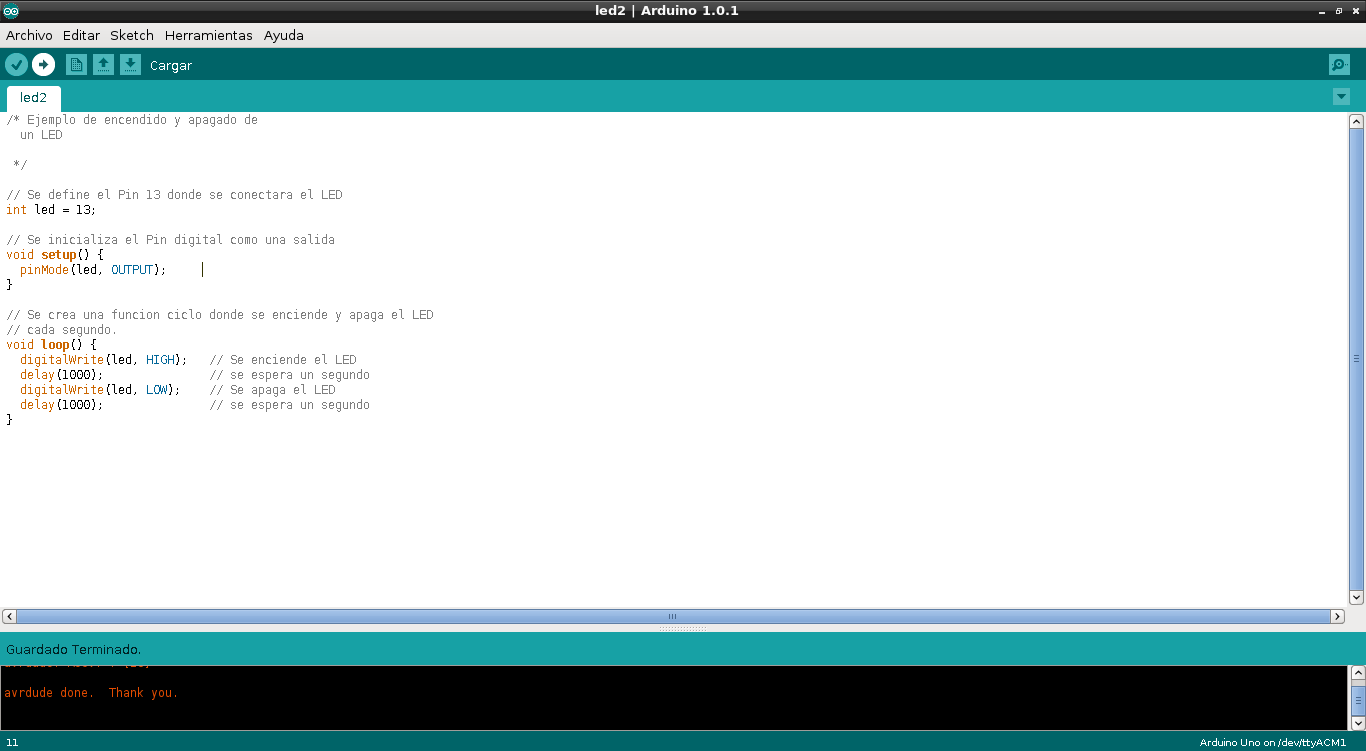
The code is shown below:
/* Ejemplo de encendido y apagado de

  un LED


 */


// Se define el Pin 13 donde se conectara el LED

int led = 13;


// Se inicializa el Pin digital como una salida

void setup() {

  pinMode(led, OUTPUT);

}


// Se crea una funcion ciclo donde se enciende y apaga el LED

// cada segundo.

void loop() {

  digitalWrite(led, HIGH);   // Se enciende el LED

  delay(1000);               // se espera un segundo

  digitalWrite(led, LOW);    // Se apaga el LED

  delay(1000);               // se espera un segundo

}
Once the program is loaded, the LED starts turning on and off at 1-second intervals.
A video of the LED turning on and off is shown below:
Make a donation! If you liked the article you can make a donation with Bitcoin (BTC) using the digital wallet of your choice at the following address: 17MtNybhdkA9GV3UNS6BTwPcuhjXoPrSzV
Or by scanning the QR code from your wallet: