Kivy is a library that lets you use python to create applications for the desktop and mobile devices with multitouch support.
It is cross-platform:

It supports:
- Linux (Debian, Ubuntu, Fedora, ArchLinux, etc).
- Raspberry Pi
- Apple iOS
- Apple OSX
- Windows
- Android
To download it you can visit the project page.
On Debian stable (wheezy) you have to install it via pip or download the source from the link above.
pip install kivy (aplica para cualquier versión de Debian o distro basada en Debian).In the testing version (Jessie) it is already in the Debian repositories:
apt-get install python-kivy python3-kivy python-kivy-examplesFor more information about the project you can visit its wiki on github.
The example I will explain is a window with a label that says "Hola Mundo!"; the first version will contain all the code in a python script, and in the next version the python script is separated from the widget properties.
Hello world code, version 1:
#!/usr/bin/env python

#Se importa kivy

import kivy

#Se válida que se esté usando la versión 1.8.0 de kivy

kivy.require('1.8.0')


#Se importa la clase App y el widget Label

from kivy.app import App

from kivy.uix.label import Label


#Se crea la clase HolaApp que hereda de App

class HolaApp(App):

    #Se crea la función build

    def build(self):

        #Se retorna el widget Label con un texto y el tamaño del mismo

        return Label(text='Hola Mundo!!!',

                     font_size=100)


if __name__ == "__main__":

    #Se instancia la clase y se ejecuta

    HolaApp().run()
The script will be called hola.py.
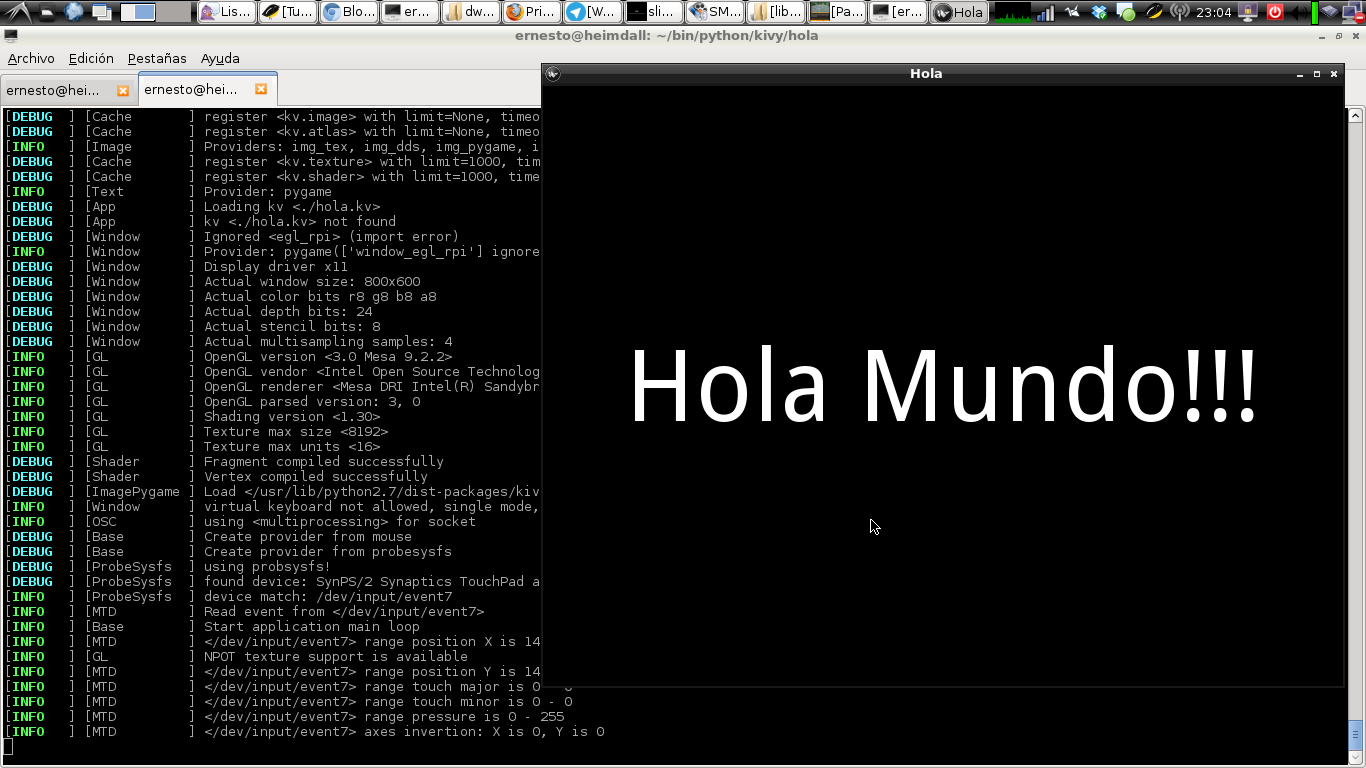
The figure below shows the result of running the script:
Version 2 of hello world differs from the first in that two files are now used, hola2.py and hola2.kv. Their names are related to the name of the class that is created, and that is how python and kivy recognize the files they need to run.
Below is the code of hola2.py:
#!/usr/bin/env python

#Se imposta kivy

import kivy

#Se valida que se use la versión 1.8.0 de kivy

kivy.require('1.8.0')


#Se importa la case App y el widget Label

from kivy.app import App

from kivy.uix.label import Label


#Se crea la Clase Hola2App que hereda de App

class Hola2App(App):

    #Se define la función build que retorna el widget Label

    #Esta vez sin ningún argumento ya que será manejado por el archivo hola2.kv

    def build(self):

        return Label()


if __name__ == "__main__":

    #Se instancia la clase Hola2App y se ejecuta.

    Hola2App().run()


Código del archivo hola2.kv:
# File name: hola2.kv

#:kivy 1.8.0

<Label>:

  text: 'Hola mundo v 2!'

  font_size:100
This file has the description of the label, with the text and font_size parameters; this makes it easier to keep things tidy and to change the widget parameters without having to modify code.
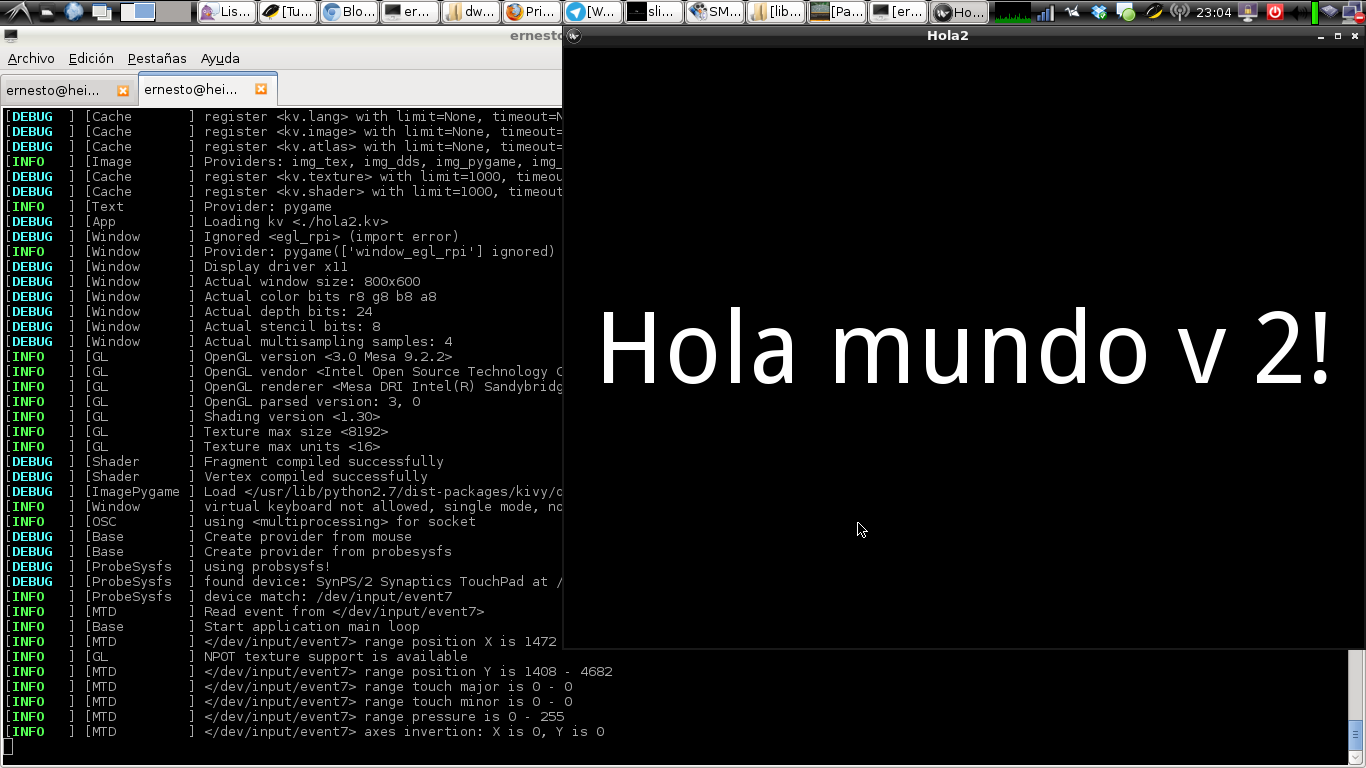
The result of running the script hola2.py is shown in the following figure:
Upcoming articles will continue explaining the use of widgets, how to install the library on Android and how to create Android applications.
Make a donation! If you liked this article you can donate with Bitcoin (BTC) using the digital wallet of your choice to the following address: 17MtNybhdkA9GV3UNS6BTwPcuhjXoPrSzV
Or by scanning the QR code from your wallet: